Pivot is an online resource that can help you find funding opportunities in your field. Here is a quick guide to setting up and saving a Pivot search with custom keywords and filters.
- Go to the Pivot website. The first time you visit you will need to create an account. Select ‘Create an Account’ from the drop-down menu in the upper right of the dashboard. It should give you the opportunity to create and account using your GW institutional login.

- After you have logged in for the first time, it will ask you if you want to create a profile. You do not need a profile to use Pivot for searches. Click ‘Skip this Step’ to return to the dashboard.
- Now you are ready to search for funding opportunities. Under the main search bar, select ‘Advanced Search.’
- To find greatest number of results, use a mixture of general and specific keywords. In this example search a user looked for opportunities in Astrophysics by searching:
- Physics OR ‘Physical Sciences’ OR Astrophysics OR ‘Compact Objects’ OR Pulsars OR Nebulae OR ‘Black Holes’ OR ‘Neutron Stars’ OR ‘Gamma Ray Sources’ OR ‘X-ray Astronomy’ OR Astrostatistics OR ‘High-energy physics’ OR ‘Optical Transients’ OR Planets
- Use the ‘OR’ operator to separate keywords. Put multiple words into quotation marks to search for them as a complete phrase.

- After you’ve picked your search terms, you can add or refine filters on your search.
- All searches from a GW-linked profile are initially generated with a location filter for the United States. To disable this filter select ‘View filters’ in the top banner and uncheck the boxes that appear.
- You can add additional filters below your keywords. Use the drop-down check boxes to filter based on Funding type, Funder, Funding amount, and more. You can also use negative filters to exclude certain opportunities.
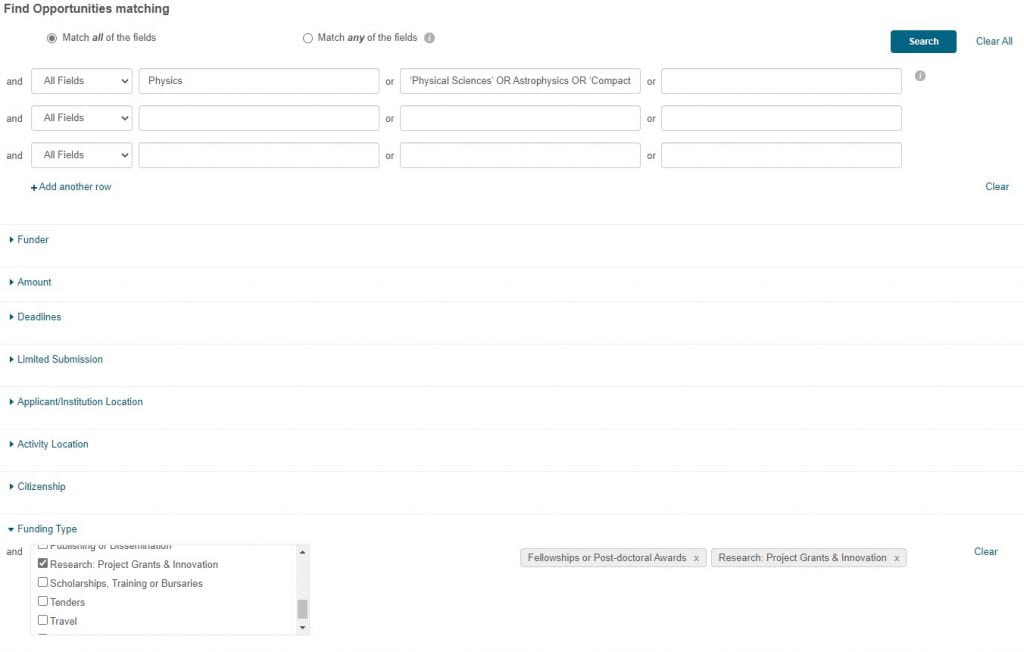
- The default search option is to ‘Match all of the fields.’ This will leave your ‘OR’ operators intact, but will allow you to apply filters to your search without including irrelevant results. You can change this to ‘Match any of the fields’ but that is not recommended as it often leads to the inclusion of irrelevant results.
- An example: If you use the search term ‘Ecology’ and add the filter ‘Fellowships or Post-doctoral Awards,’ it will return all fellowships and post-doc awards that have ‘Ecology’ as a keyword. If you select ‘Match any of the fields,’ the same search will return all fellowships and post-docs across all fields, and all opportunities in ‘Ecology’ regardless of funding type.
- Once you have set up your keywords and filters, click ‘Search’
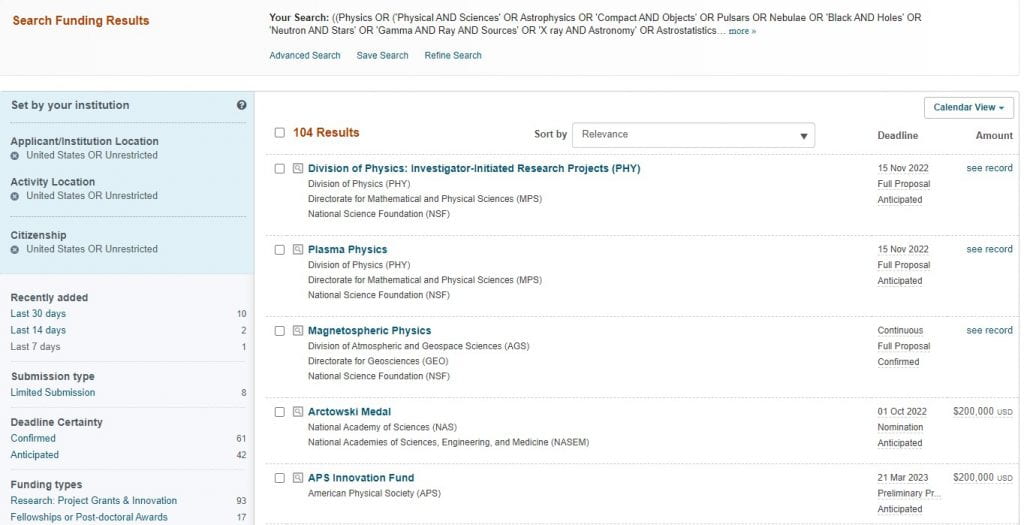
- You can sort your results by relevance, title, funder, deadline, or award amount. You can also use the sidebar to add or remove filters.
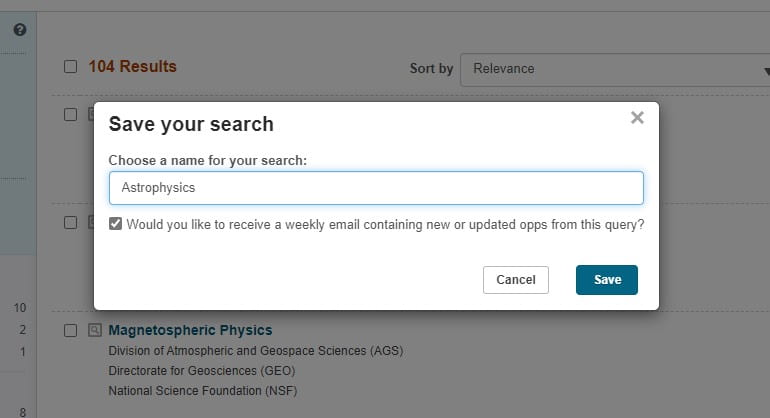
- Select ‘Refine Search’ to update your search terms, or ‘Advanced Search’ to begin a new search. To save your search parameters, select ‘Save Search’ at the top of the page, name your search, and save it. You can also opt-in to email alerts about new results of your saved search.
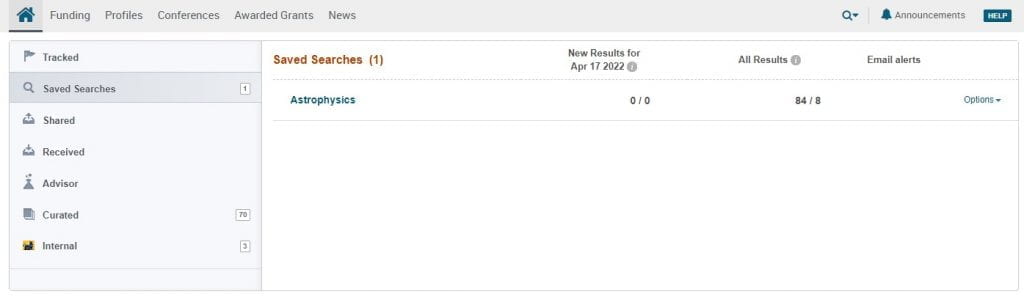
- You can access saved searches from the dashboard using the drop-down menu on the top left, under the ‘Home’ icon.

- From the ‘Saved Searches’ page you can see new results for your search, view the complete results list, and turn email alerts on and off.
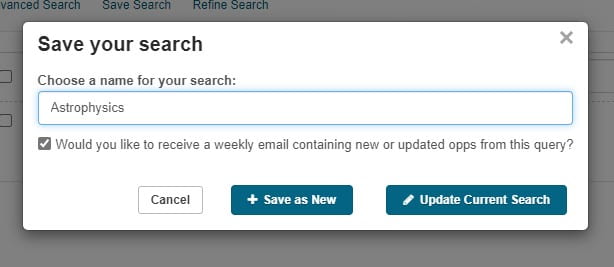
- From the results list, you can add filters and refine your search as described in steps 8 and 9. Once you have refined your search, you can chose to update your current saved search or save the new terms as a new search.